How to Install Faux Brick Wall Panels
Do you want to add a unique design element to your store, restaurant, office or even home? Faux brick walls quickly transform your space and create a whole new atmosphere, with endless options for feature walls or full wall fit-outs. You can create everything from rustic and industrial styles, to a sophisticated, sleek, modern style, depending on the brick finish you choose.
The beauty of fake brick panels is the ease of installation. They make DIY transformations simple, weighing just 10% of real bricks, and offer a realistic and textured finish. They are perfectly on-trend and add a design flair to your space, whether that’s a room, office, shop front, or anything in between.
If you want to use faux brick panels for your next project but are unsure on how to install them yourself, we’ve got you covered – keep reading for our installation guide.
Choosing your faux brick wall
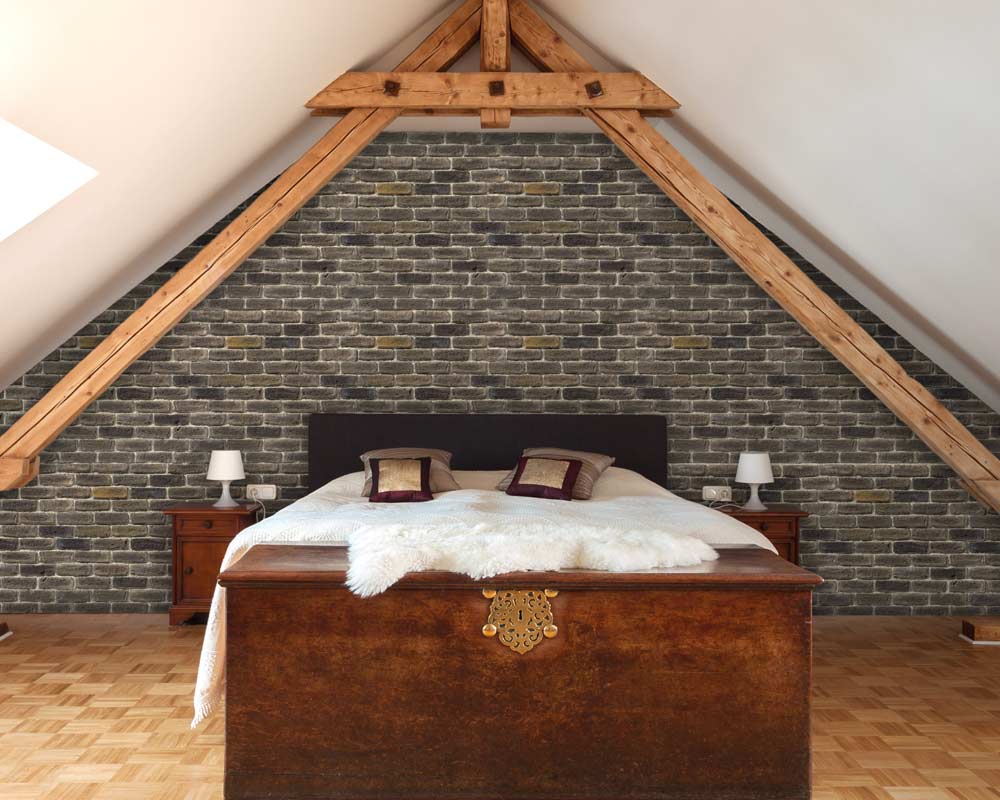
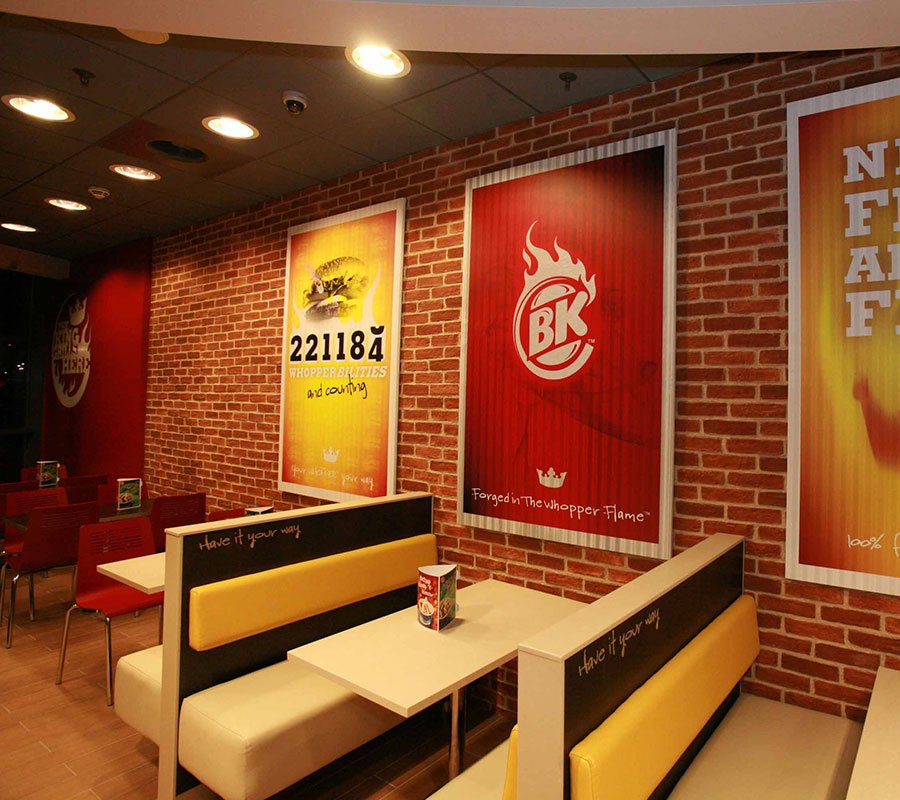
The first step is deciding on the brick finish you’re after. Think about your space and the atmosphere you want to create with brick panelling. You may want to create a feature wall in a bedroom or kitchen, a welcoming entrance to your office or apartment building, add an atmospheric finish to your restaurant or café, or add a unique design element to your shop front. Brick wall panelling can work perfectly in any of these settings, and they help you to create a unique space without spending the time and money on the real thing.
There are plenty of options on offer and a range of manufacturers, but not all brick panelling is created equal. Panespol panels are the ideal choice as they are a sustainable building material made from non-toxic materials using 100% recyclable polymer-based polyurethane, offer thermal insulation against damp, and have a range of realistic and high-quality finishes.

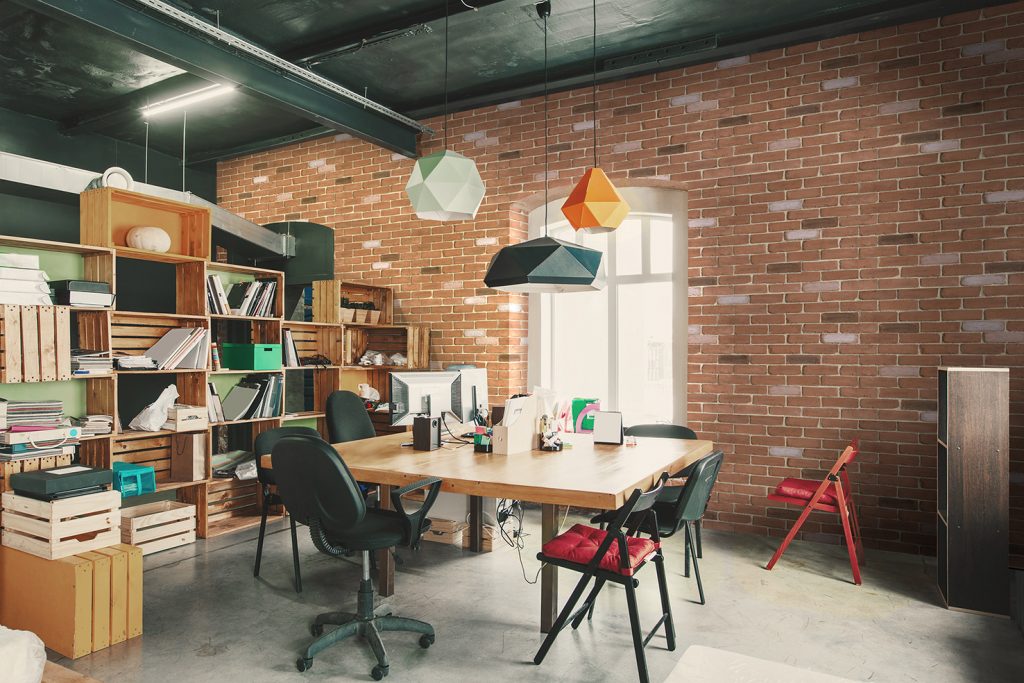
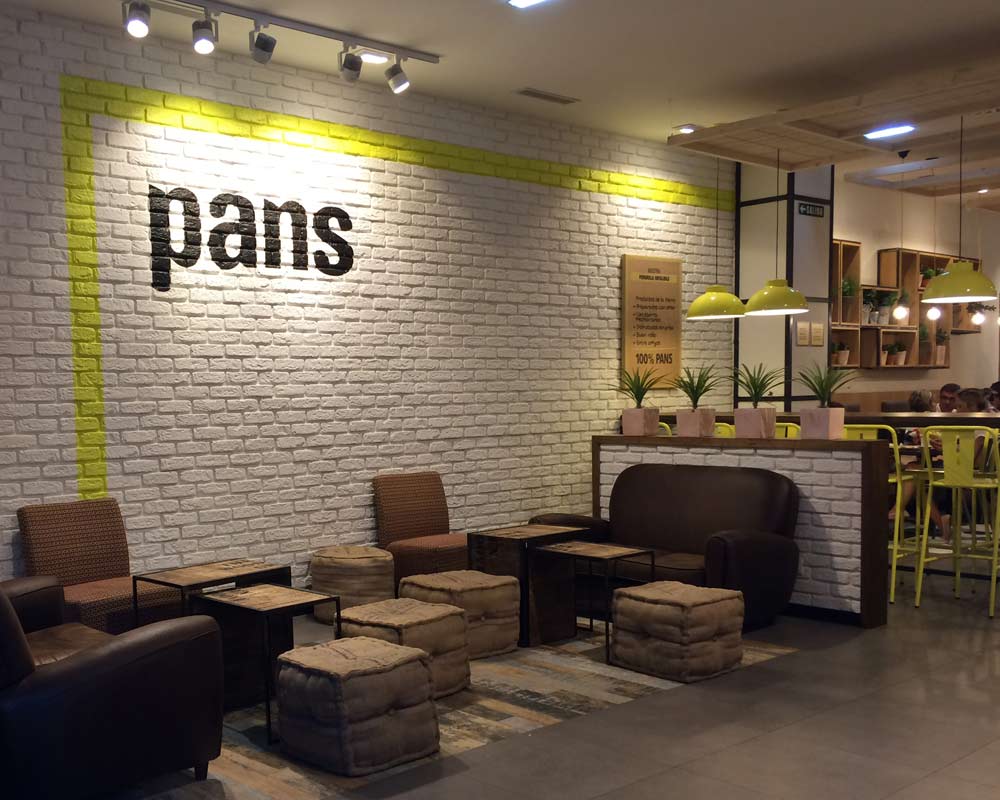
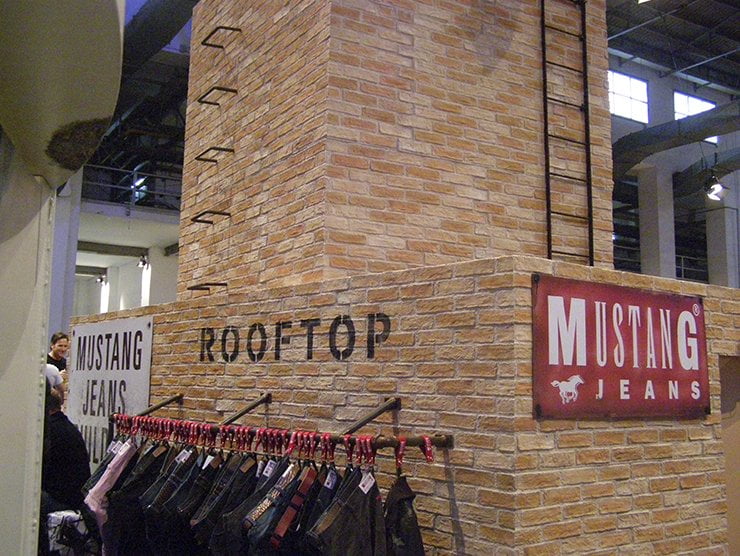
If you’re stuck on some design inspiration, here’s some great pointers – Red Caravista Bricks will help to create a warm, rustic feel and are great for restaurants, bars and eateries; White Bricks offer a sleek, urban feel and create a great blank slate, perfect for offices, cafes, and retail stores; Espiga Teja creates an earthy Mediterranean feel, perfect for the modern home décor and specialty stores or restaurants.
These are just a few of the Panespol finishes to choose from. You can take a look at our full range online here.
Materials you’ll need
- Brick Wall Panels of your choice
- Table saw
- Measuring tape
- Construction adhesive (Sikaflex or similar)
- Joint filler
- Retouching paint
- Nail gun or screws (optional)
- Level
Installation Steps For Faux Brick Wall Panels
1. Measure and measure again
There will be a lot of measuring involved, so make sure you have a handy measuring tape by your side. You’ll initially need to measure the wall space you want to cover with brick panels so that you know how much to order.
Top tip: Always order a bit more than you need. This will be a lifesaver if you’ve mis-measured or make a mistake in the installation process.
Then, once you receive your panels you’ll need to measure them up against your walls so you can cut them to the correct size and dimensions.
2. Cut the panels to the right size
Once you’ve got the right measurements, you will need to make your adjustments to the panels by cutting them with a table saw. This will maintain a neat finish and easily cut through the textured panels. Ensure that this is done correctly and safely, using saw horses or a workbench.
3. Allow for wall sockets
When measuring and cutting your panels, keep in mind that you’ll need to cut out holes in your panels to accommodate for elements such as power outlets, signage, pipes, or anything else protruding out of your wall.
4. Glue the panels
Once your panels are cut and your walls are clean and dry, the next step is adding the adhesive glue to the backs of the panels. The gluing technique will depend on the adhesive you choose, so you’ll need to follow the specific steps on the bottle to ensure the adhesive works correctly. You will need to use a flexible adhesive such as Sikaflex to ensure a solid bond to your wall.
5. Nail or screw the panels
For added security, you can nail or screw the panels to the wall as the glue is curing. Make sure the nails are flush with the panel and don’t stick out. You can then paint over them with retouching pant to hide the hole and keep the finish seamless.
6. Fill in the joints
The panels are designed to fit into each other to create a seamless layer, but you’ll likely need to fill in the joints and any places where you’ve had to accommodate for wall sockets and other protruding elements. Joint filler will hide any irregular lines or gaps in the panelling.
Top tip: If you want to add a splash of colour to complement your space, the panels and paintable, which means you can truly customise your design.

Why Advanced Display Systems?
If you’re looking for the best faux brick wall panelling for your next project, we supply the very best on the market. Our Panespol range offers a superb open brick imitation decorative wall panelling inspired by the different materials used regularly in construction.
We partner with leading transport companies to ensure fast and reliable service all over Australia, so no matter where your project is located, we can help.
If you have any questions or would like a quote for your brick wall panelling, get in touch with our friendly team by calling (07) 3861 8888 or contacting us online.